Vista Quickstart: Access and Submitting a Job on Vista
In this quickstart, we will walk through the steps to access the Vista compute system from TACC and submit a simple job. This quickstart assumes you are eligible for or affiliated with projects that have allocations on Vista. While Linux experience is helpful, it is not required to complete the quickstart.
Before you can access the Vista computing system, you must:
- Have a TACC account or register for a TACC account
- Be on an active project with allocation for Vista or submit an allocation request
- Set up Multi-Factor Authentication at TACC
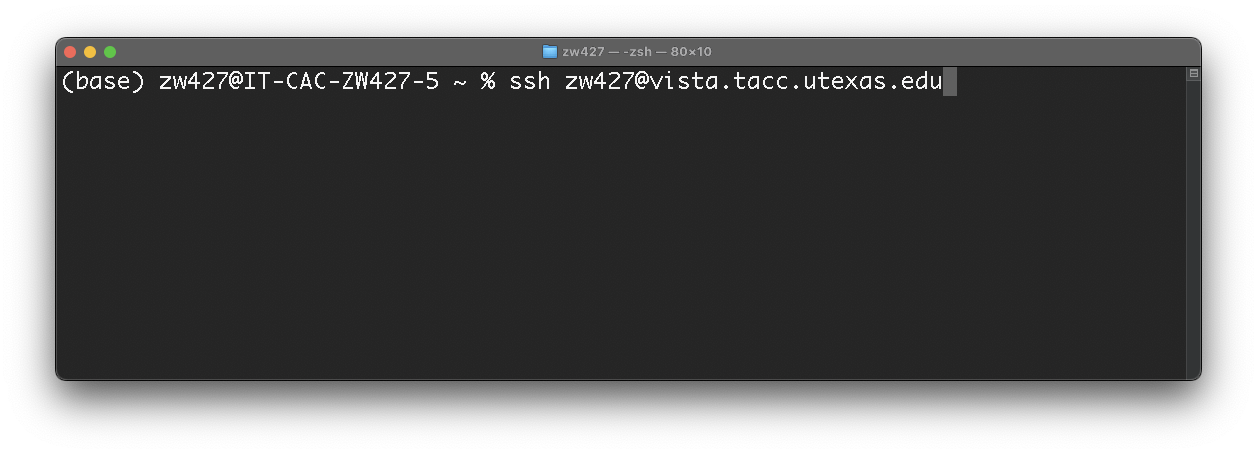
- Open a shell, such as Terminal on macOS/Linux or PowerShell on Microsoft Windows.
- In the shell, enter the following:
- When prompted, enter your TACC account password.
- When prompted, open your Multi-Factor Authentication application and enter the current token displayed.
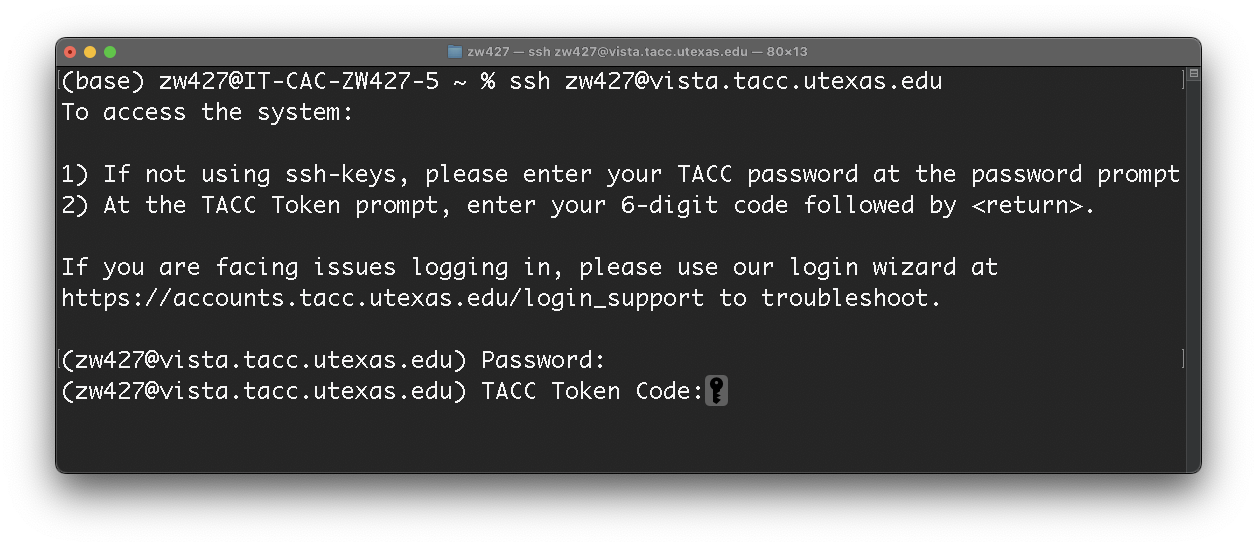
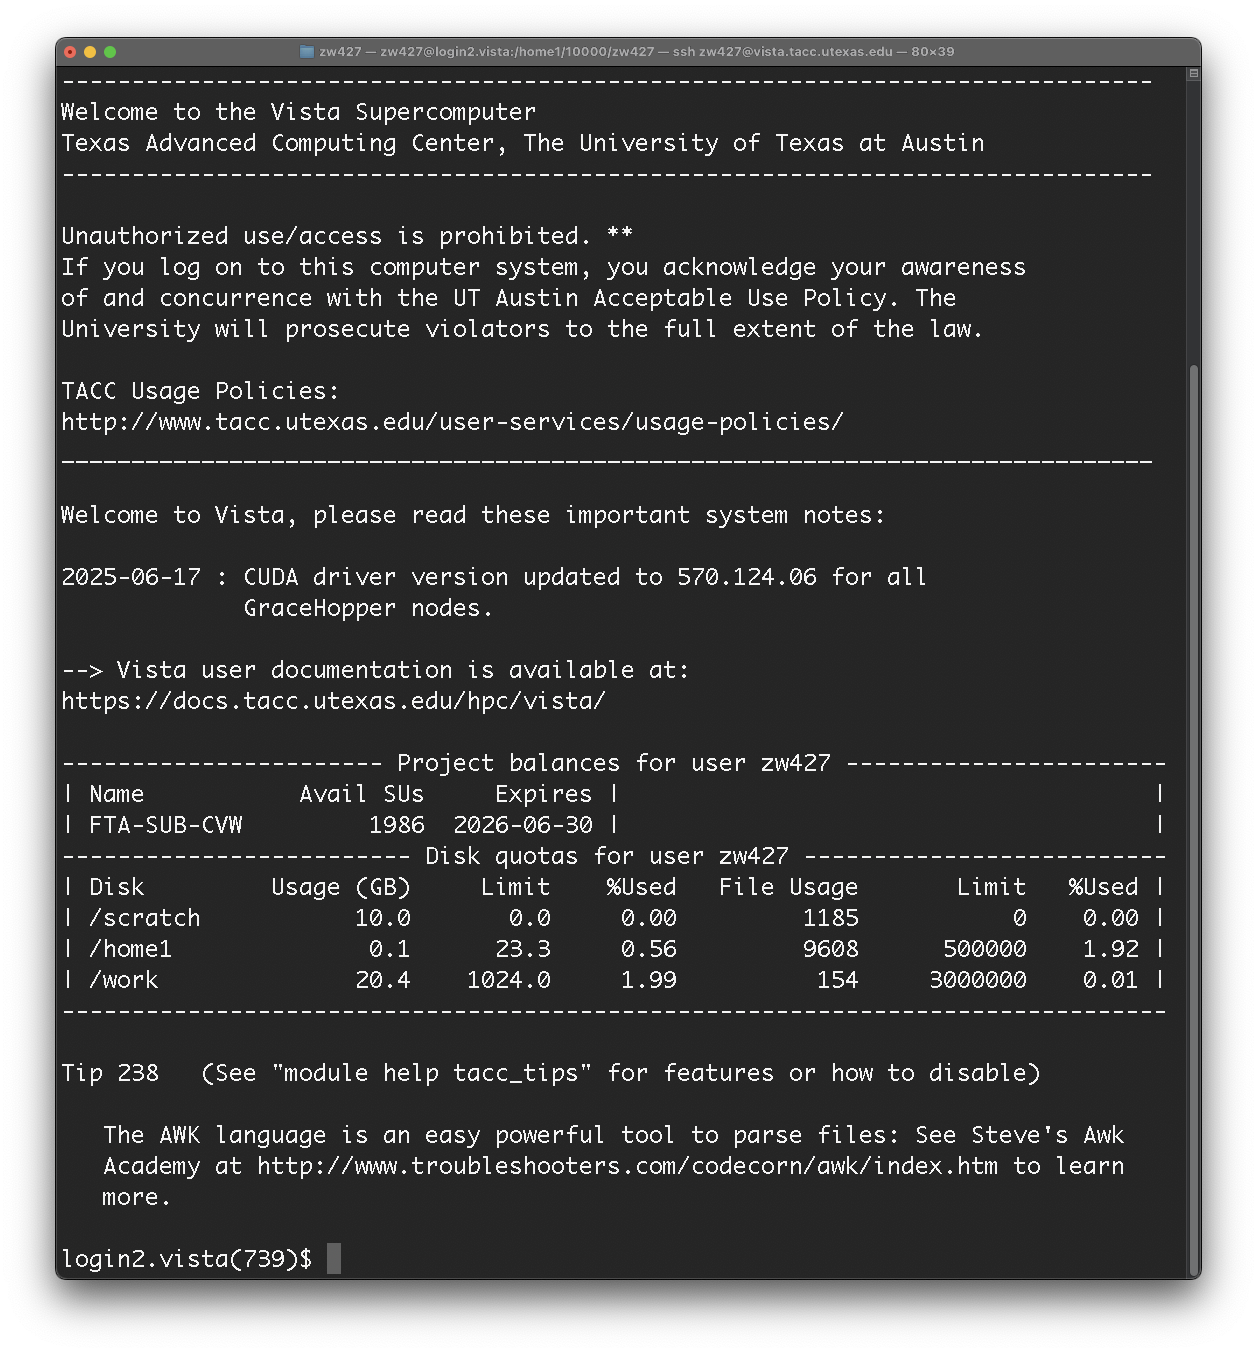
- If authentication is successful, you will be logged into a Vista login node
- If you are not familiar with Linux commands, we recommend starting with the Introduction to Linux roadmap.
- List the files in the current directory by typing
ls. If this is your first time logging in, nothing is returned.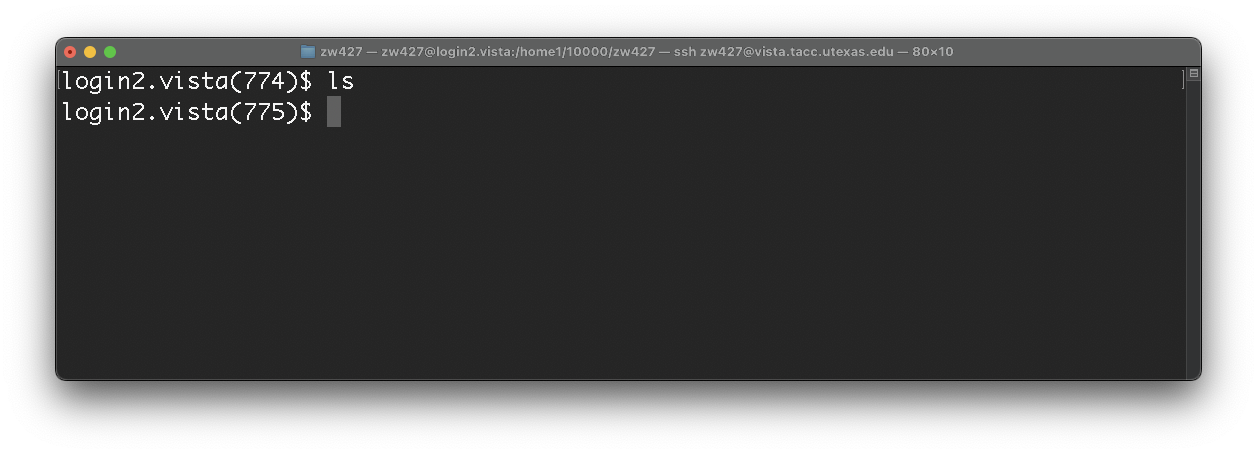
- Print the working directory by typing
pwd.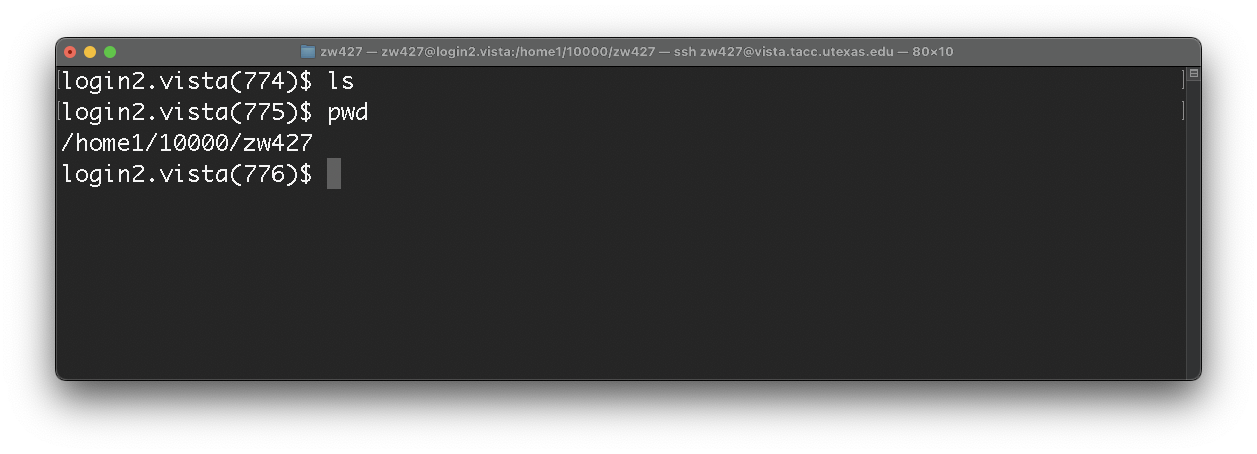
- Create a new subdirectory, vista_quick_start, with the mkdir command:
mkdir vista_quick_start.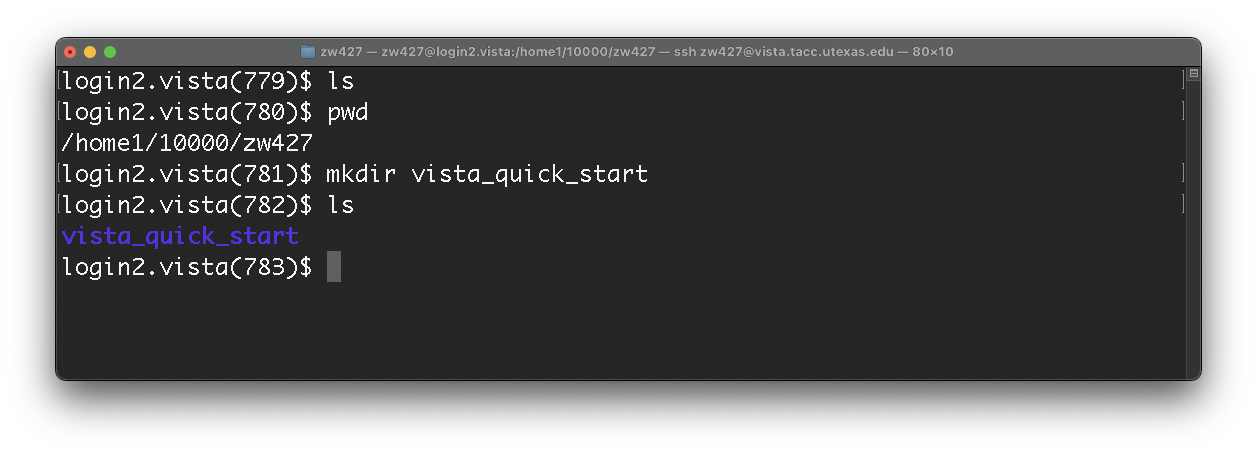
- Navigate to vista_quick_start with the command cd:
cd vista_quick_start. We will create files in this directory.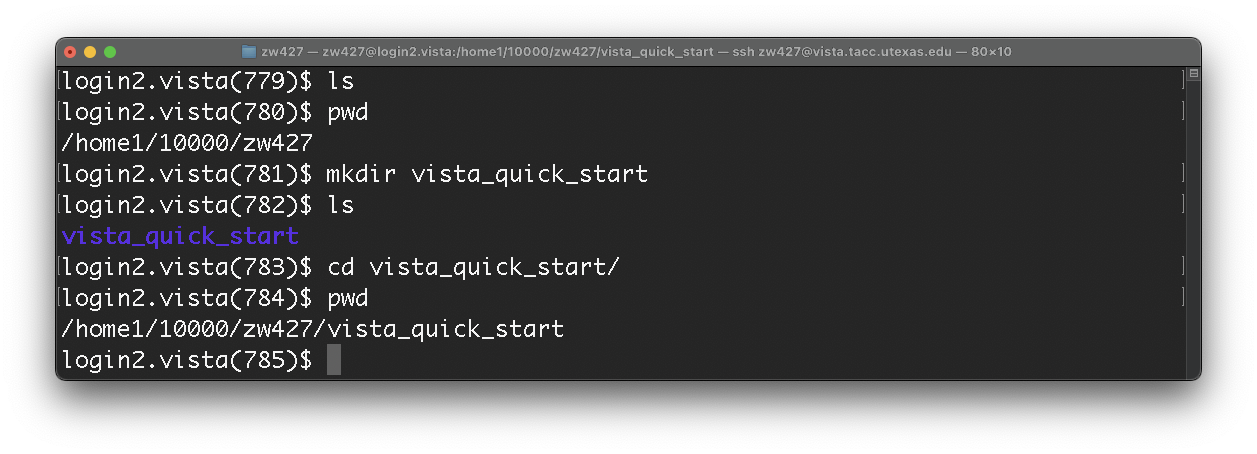
User environment and software are managed by environment modules. You may read more about them at Modules on Vista. This brief section will walk through basic module usage.
- See the currently loaded modules by typing
module list.
-
See all available modules on Vista by typing
module avail. Navigate the list of modules with up and down keys, and quit navigation by pressing the Q key.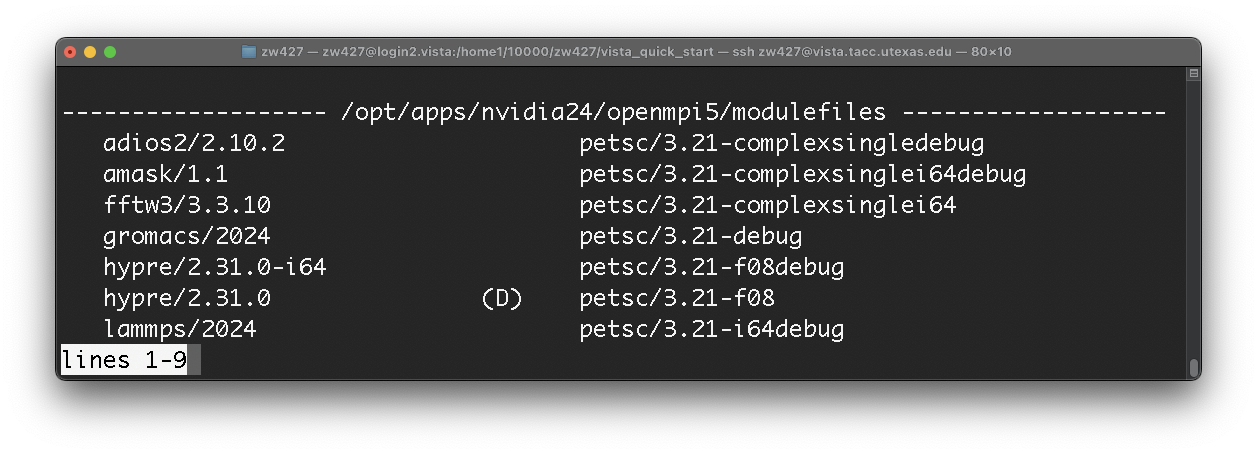
- List more details about a specific module by typing
module spider <modulename>ormodule spider <modulename/version>. For example, to see the module gcc/15.1.0, typemodule spider gcc/15.1.0.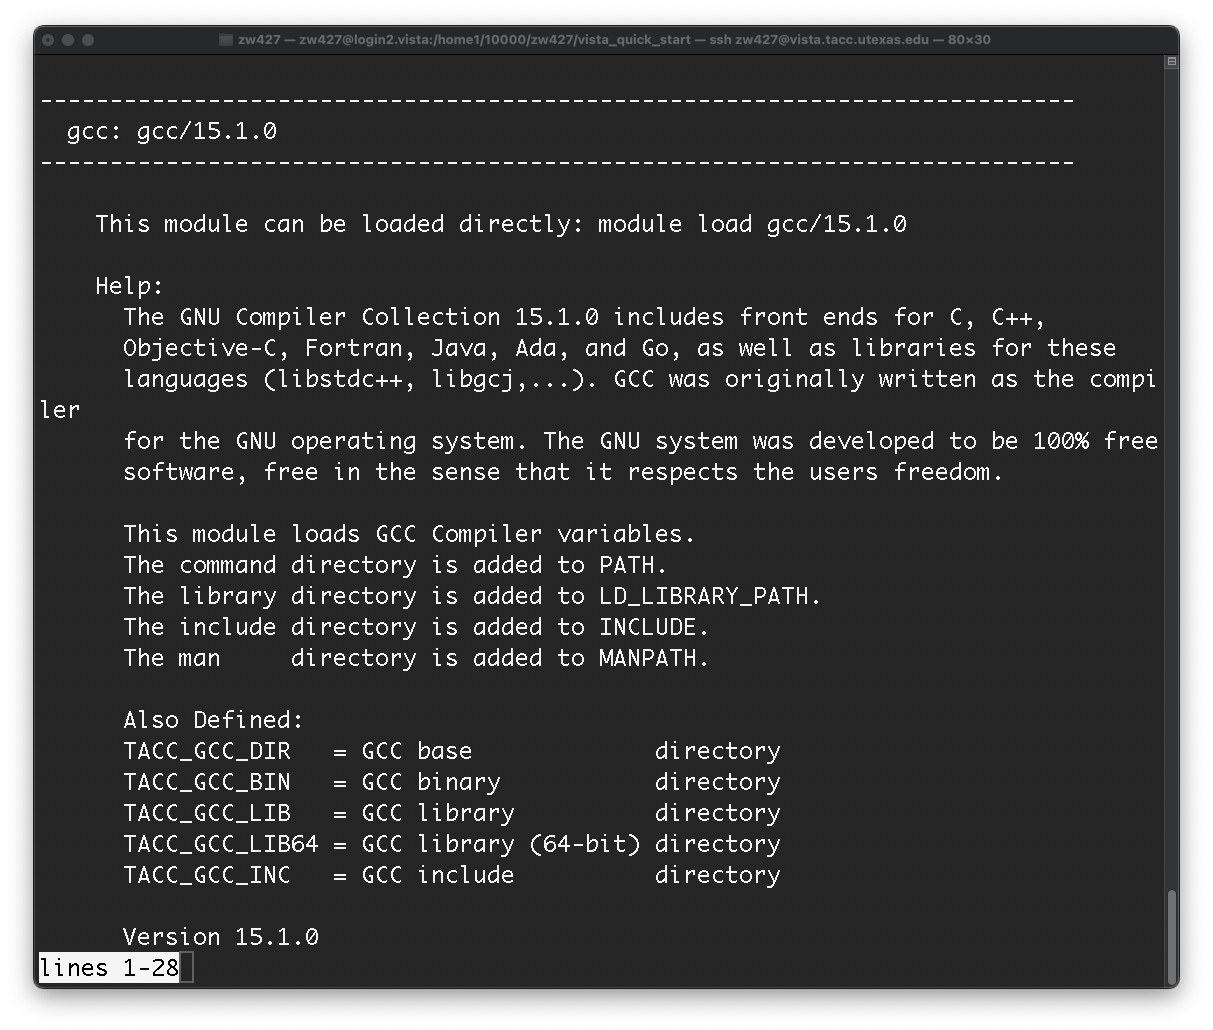
- Load a module by typing
module load <modulename>. For example, to compile a C program with the GCC of version 15.1.0, typemodule load gcc/15.1.0.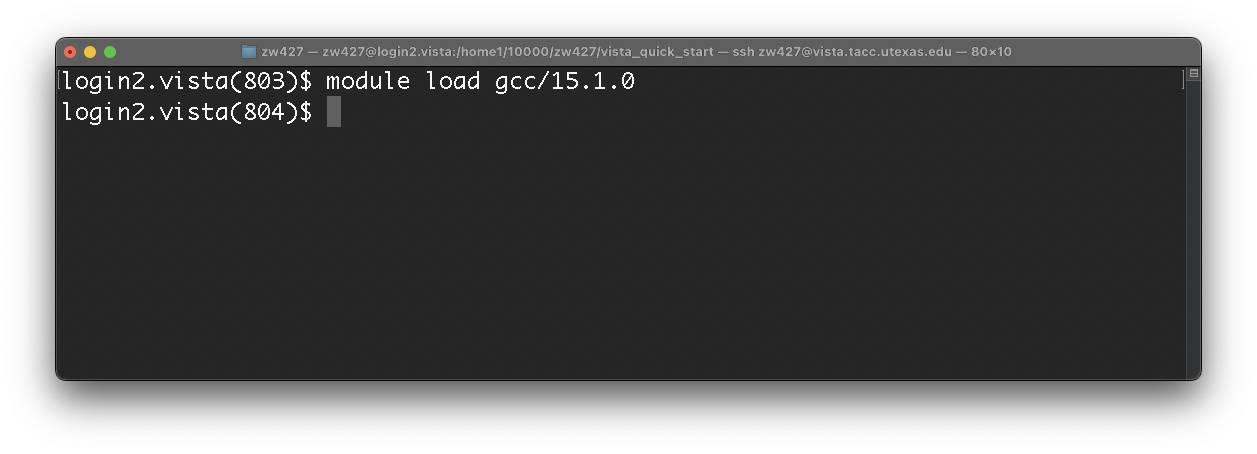
You will compile a simple C program in this section.
- Download squares.c into your current directory with wget:
wget https://cvw.cac.cornell.edu/cintro/wrapping-up/squares.c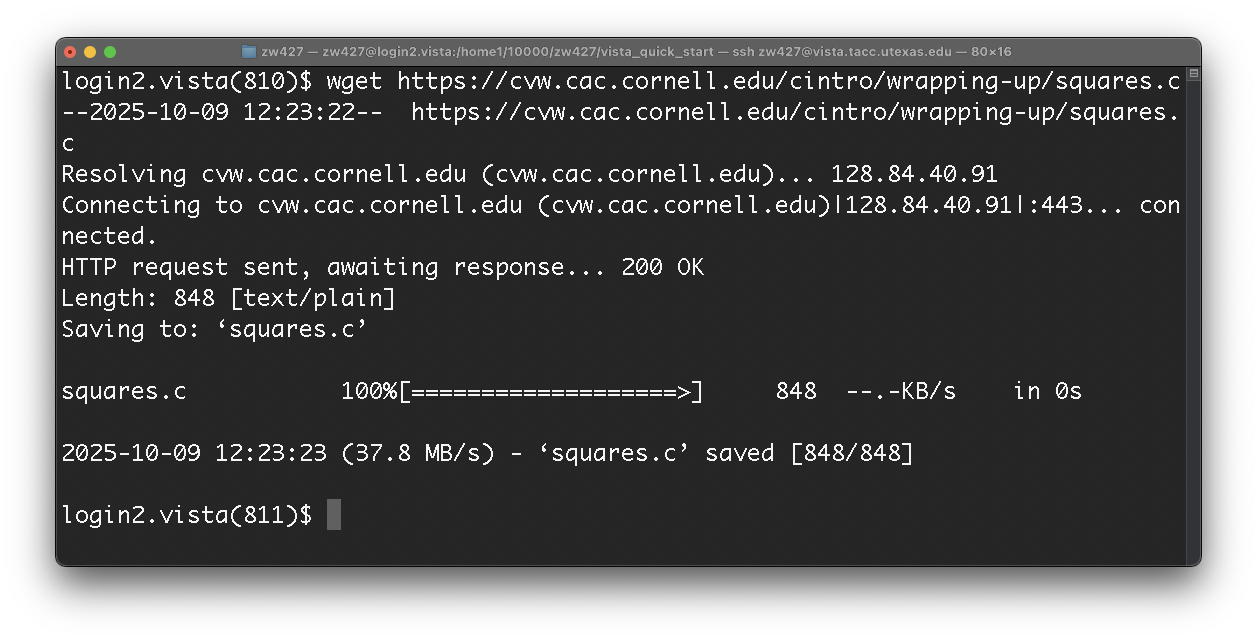
- Compile the program with gcc by entering the following:
gcc -o square squares.c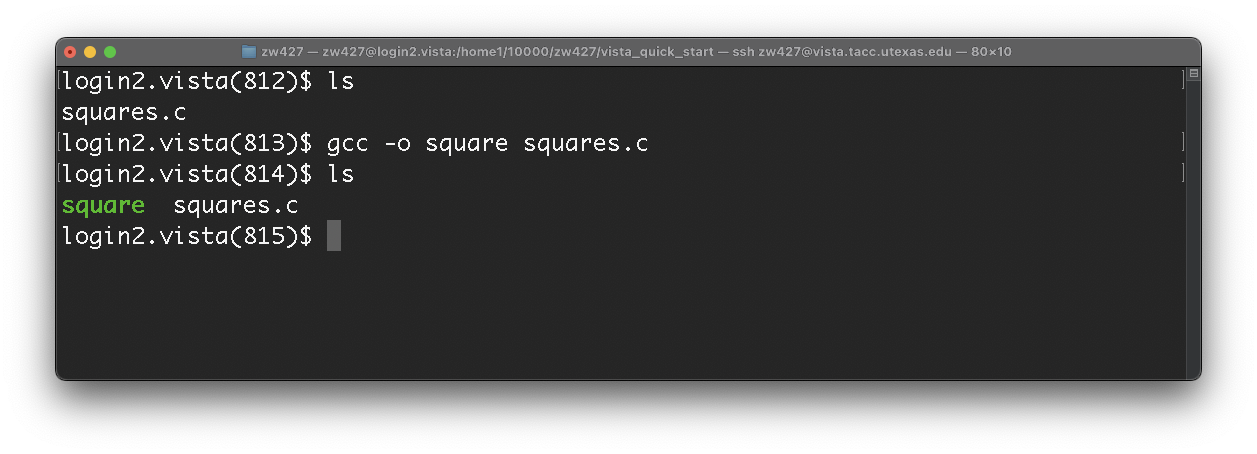
Vista uses Slurm to schedule jobs. This means that to submit a job, you must create a job script.
- Create a script file named quickstart.sh with the touch command:
touch quickstart.sh
- First, copy the content below into your clipboard.
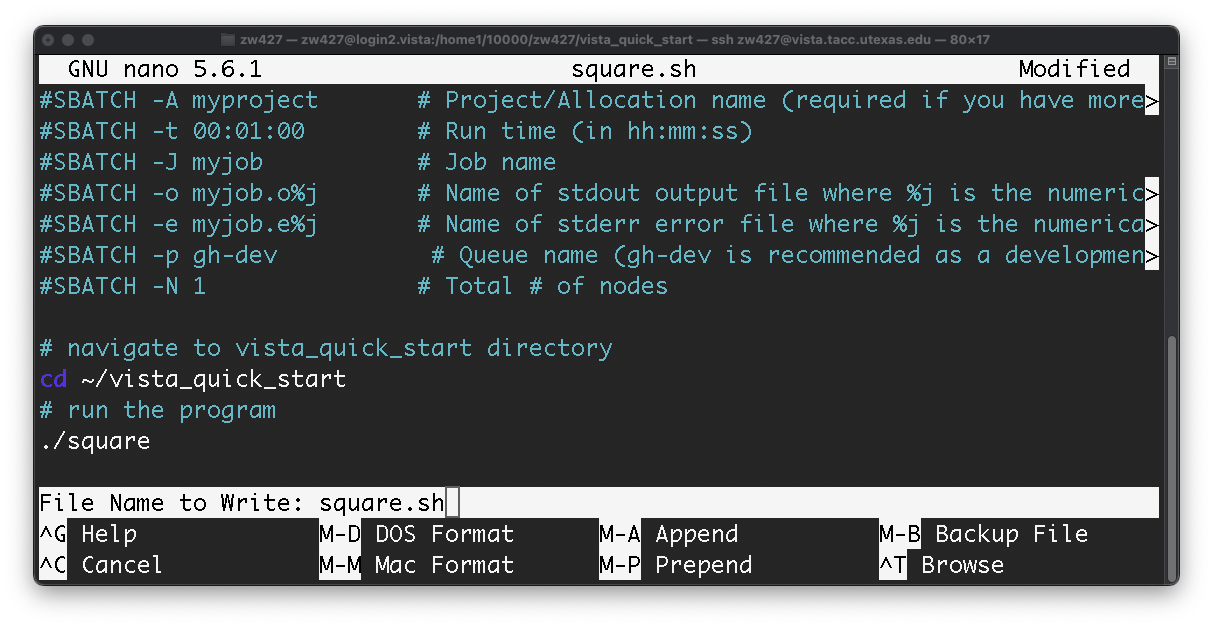
- Use the command nano to edit quickstart.sh:
nano quickstart.sh
- Paste in the script

- Edit the file as necessary. For example, myproject should be replaced with your project name.
- When you are finished editing, press Control and X at the same time on your keyboard.
- When prompted if you would like to save, press Y.
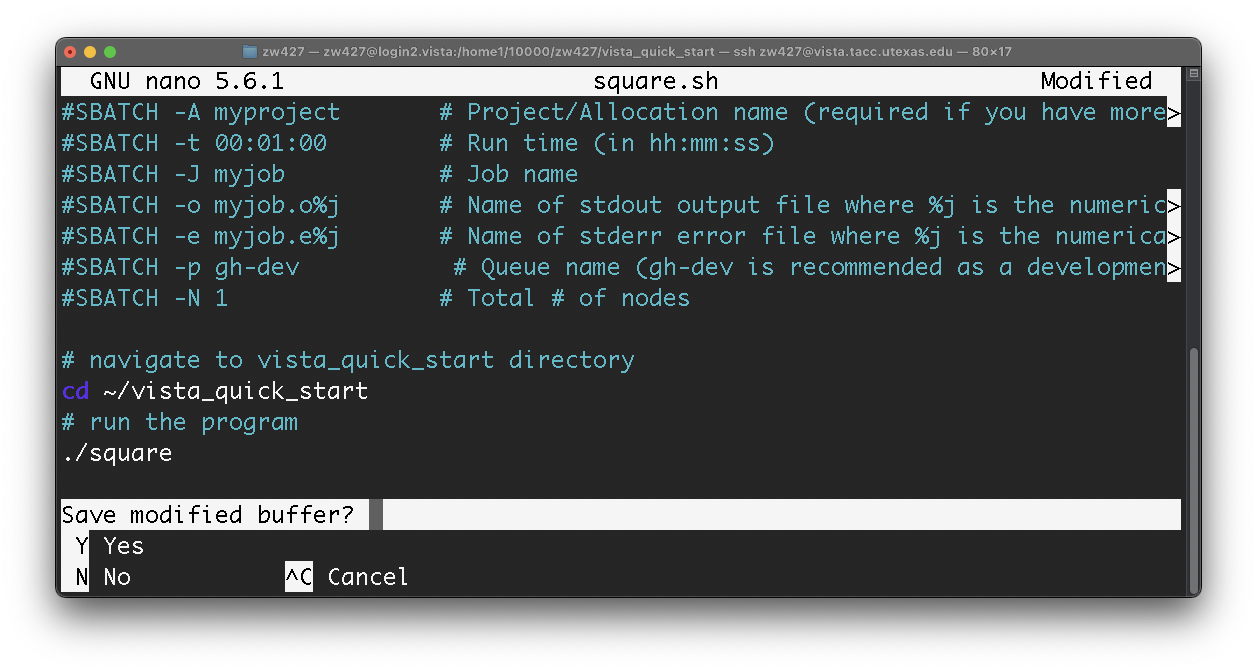
- When prompted for file name to write, press enter without additional input.
- Check if quickstart.sh is saved correctly by entering:
cat quickstart.sh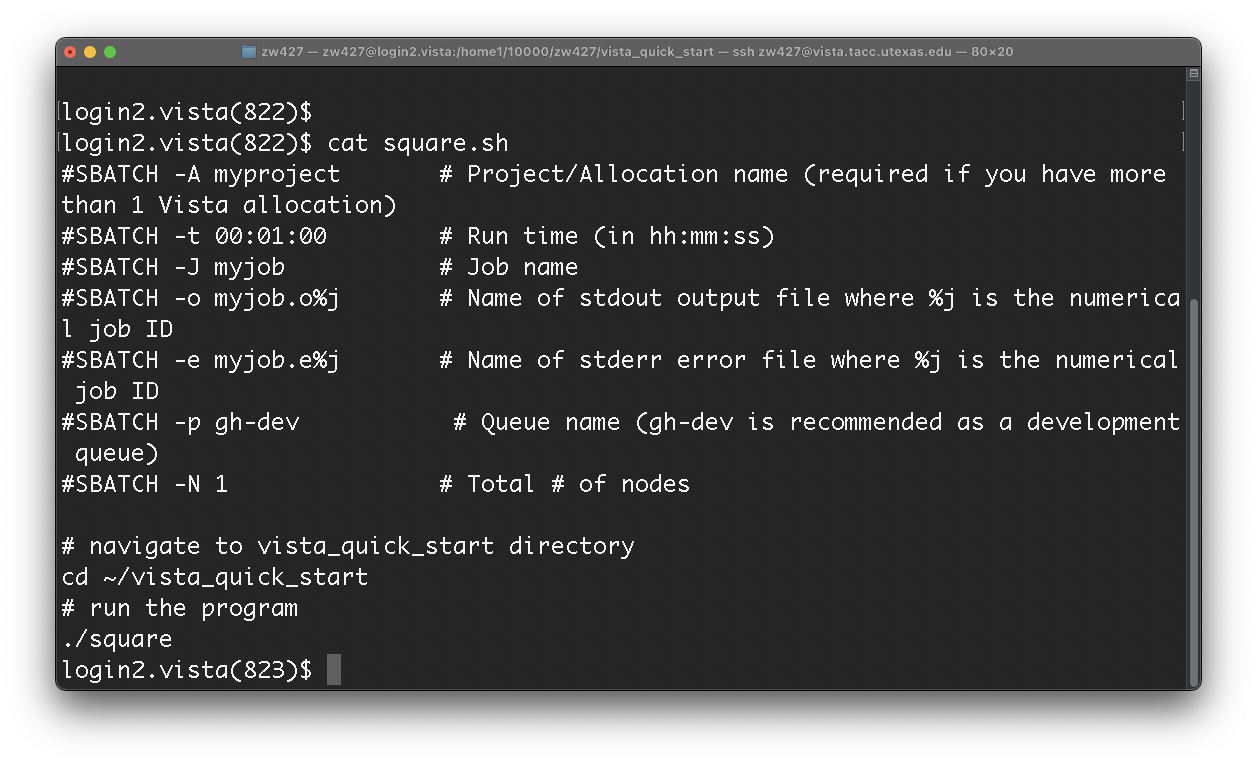
- Submit the job with the command:
sbatch square.sh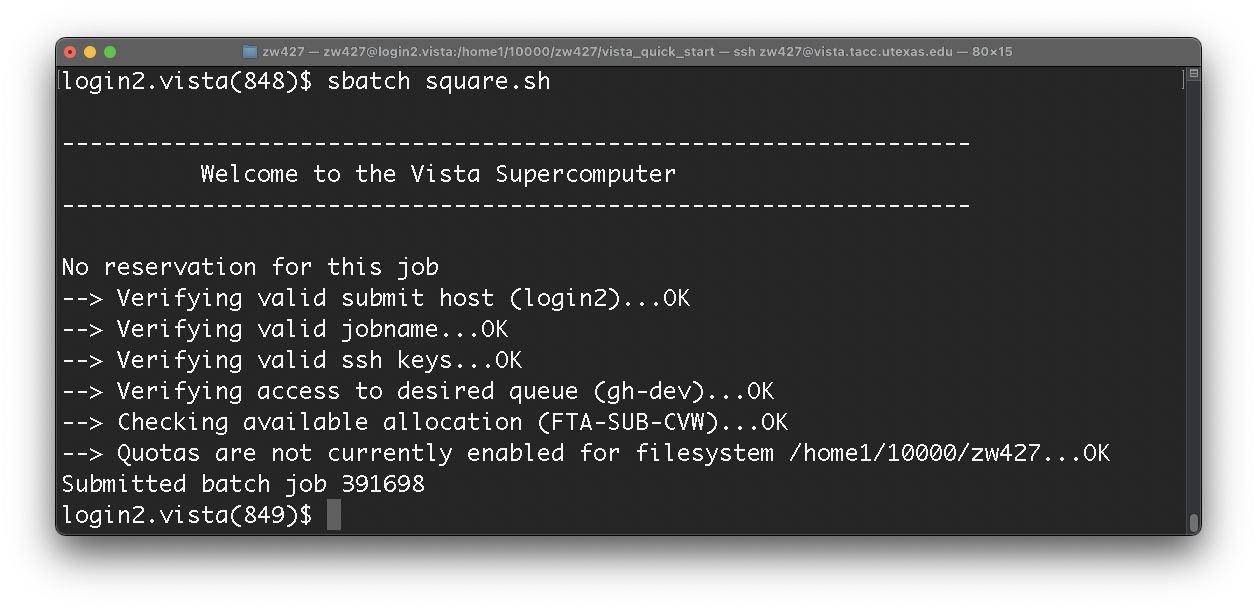
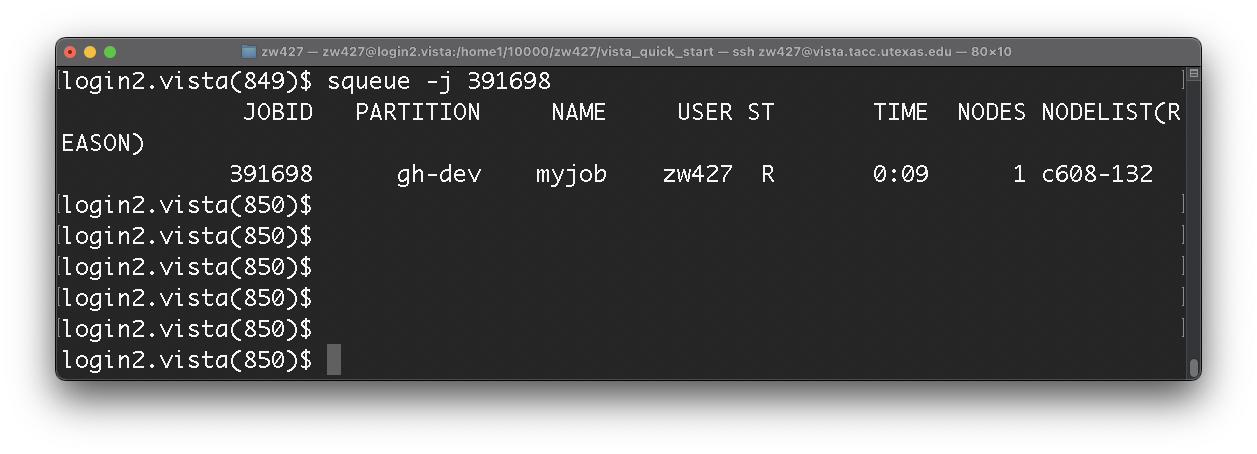
Since the script is very brief and the program is short, it should be finished immediately. However, if the queues are busy or your job is still running, you can check its status with squeue: squeue -j <job_id>
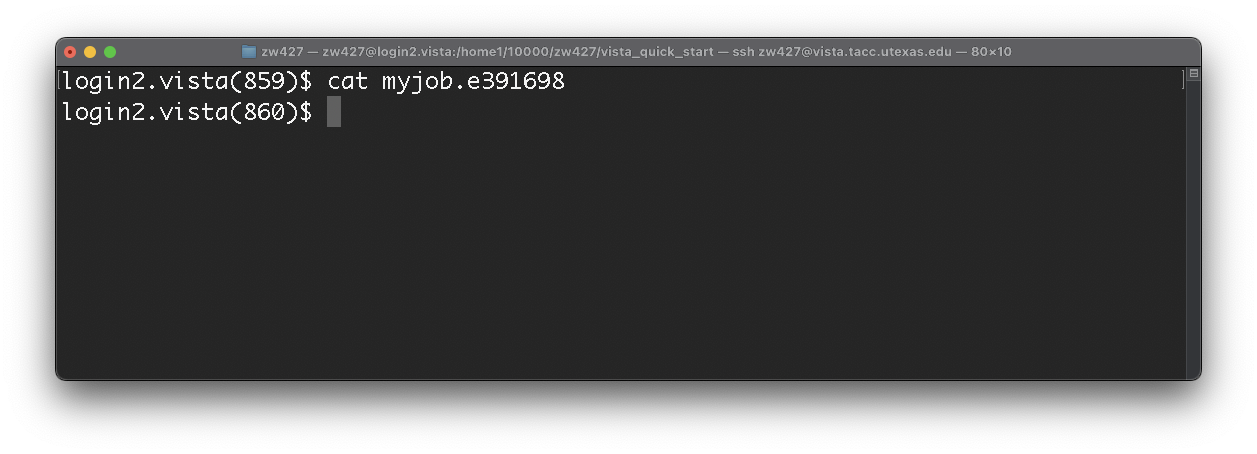
- Once you have confirmed that the job is completed, type
lsto list the files. There should be two more files that follow the scheme of myjob.o<job_id> and myjob.e<job_id>.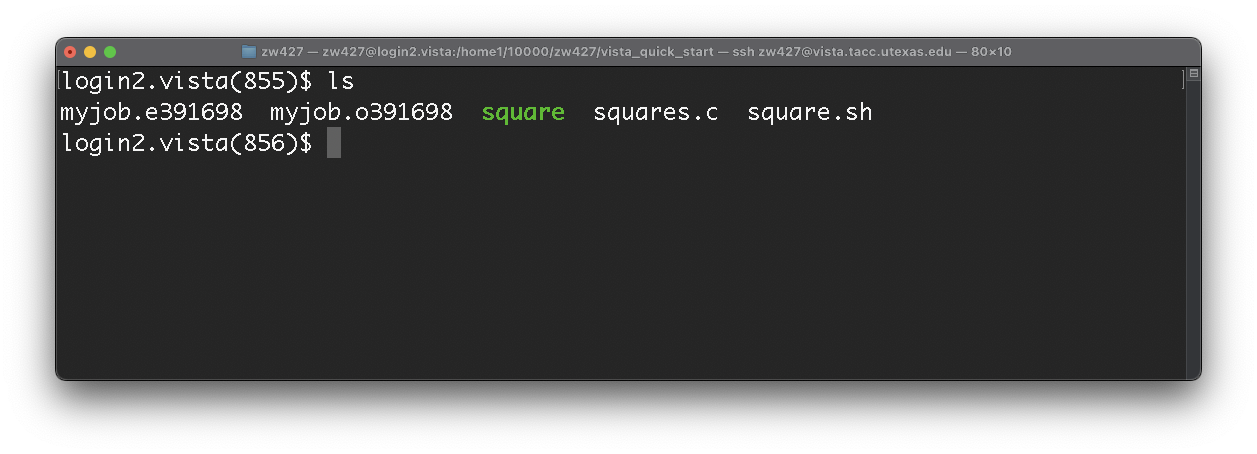
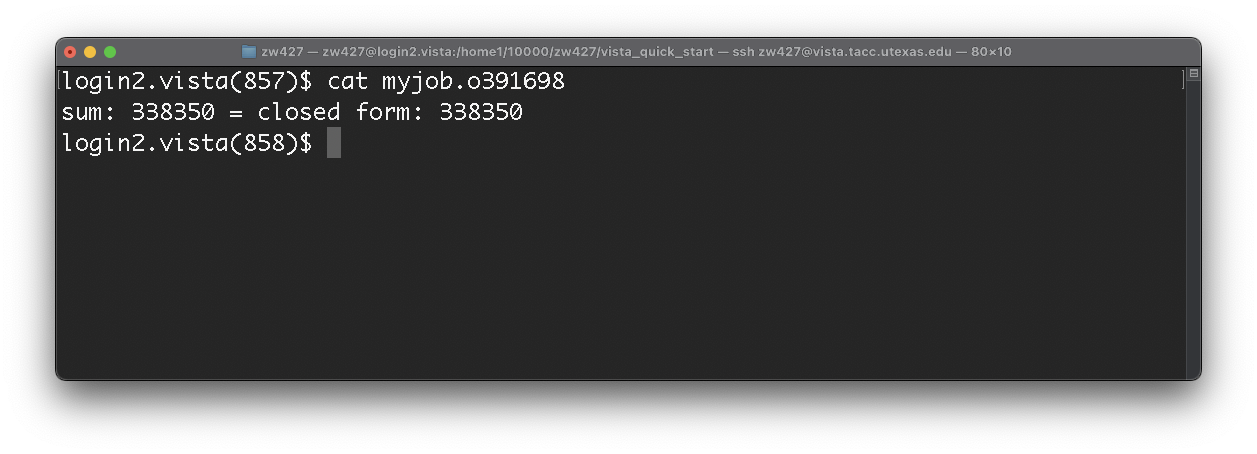
- The first file, myjob.o<job_id>, contains any standard output produced by your job.
- The second file, myjob.e<job_id>, contains any error messages produced by your job. In this case, the file is empty because the program is simple.