Upload an SSH Key to Jetstream2
If you have an SSH key on your computer that you would like to use with your Jetstream2 instances,
you can upload it to your allocation/project through the web interface.
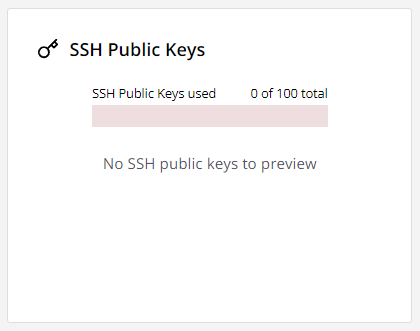
From the allocation Dashboard, click the SSH Public Keys summary
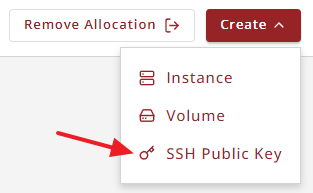
or use the SSH Public Key
option in the Create
menu found at the top of the dashboard.
Either option will display the SSH Public Keys dashboard view.
Here you can click the Upload a new SSH public key
button.

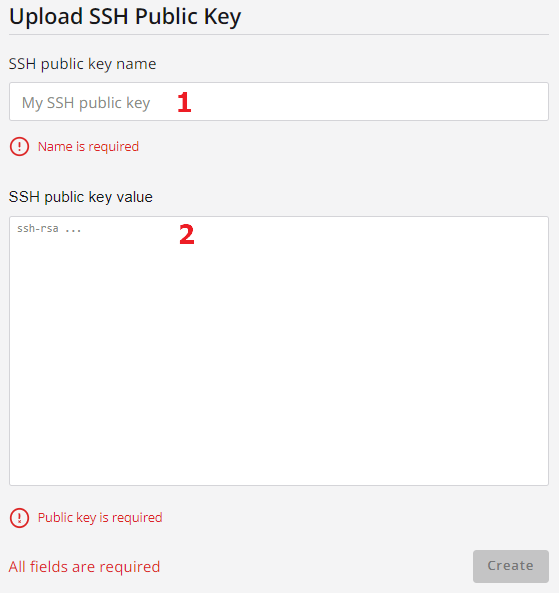
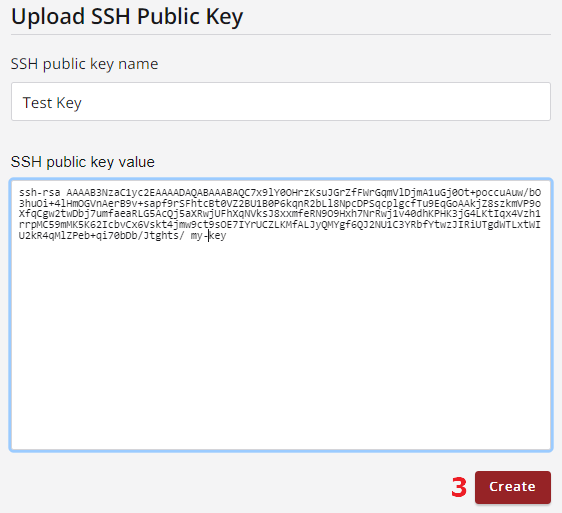
In the Upload SSH Public Key
view, enter a name for your key (1)
and paste all of the text for the public half of the key into the other text box (2).
The UI will warn you if you attempt to paste the private part of the key here.
When the name and key value are entered, click the Create button (3) to upload the key.
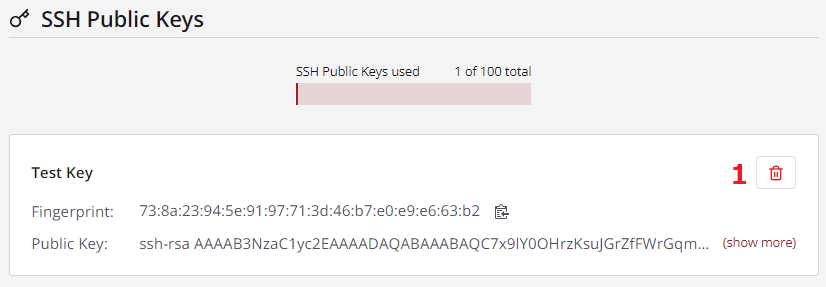
After the key has been uploaded, the view will change to show the list of SSH Public Keys in the allocation. Here you can expand any public key in order to copy its value to the clipboard, or delete the key from the allocation using the trash can icon (1).
CVW material development is supported by NSF OAC awards 1854828, 2321040, 2323116 (UT Austin) and 2005506 (Indiana University)