Creating and Attaching Volumes
Creating a Volume
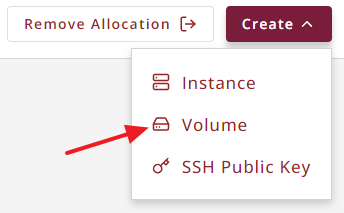
You create a volume by selecting the Volume
entry in the dashboard's Create
menu,
which displays the Create Volume
view.
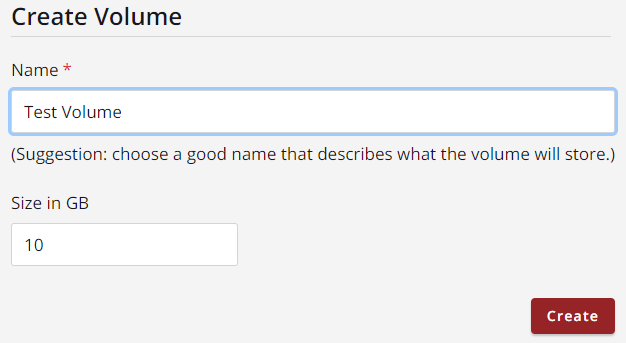
In this view you must enter a unique name for the new volume
and the desired size (in Gigabytes), then click Create
.
The volume will be created quickly, after which the view changes
to display a list of volumes in the allocation that were created by you
(note that a filter was automatically added to the view to cause this).
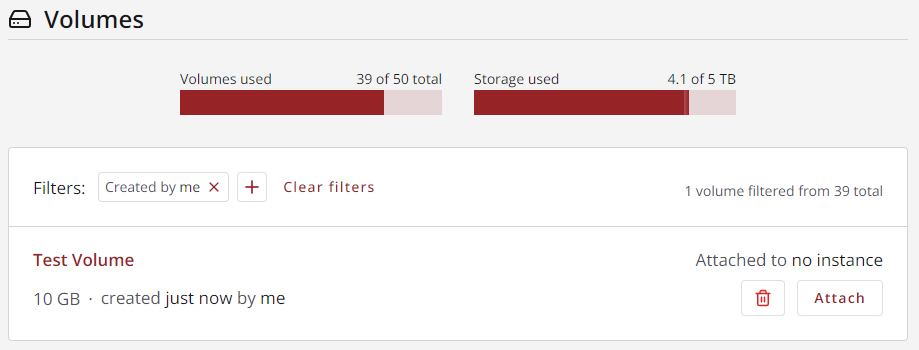
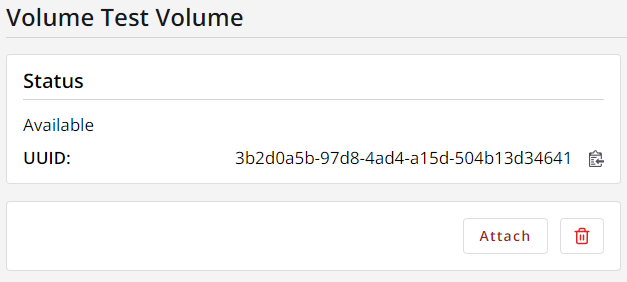
There are buttons in the entry for your new instance that allow you to delete it (trash can icon) or attach it to an instance. If you click on the name of the instance you will be taken a view of the instance details, where there are also buttons for deleting or attaching the volume.
Attaching a Volume
In addition to the two locations just shown, you can attach a volume to an instance
from a third location: the Volumes panel of the instance details view.
Clicking any of these Attach
buttons takes you to the Attach a Volume
view:

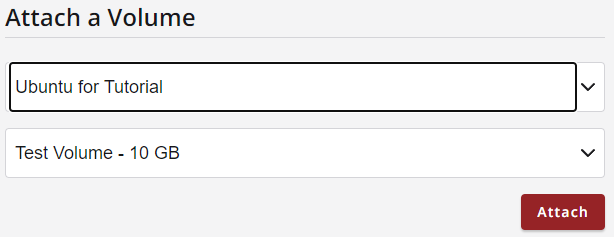
In this view, a selection will already have been made in one of the dropdowns
(for the instance or for the volume).
You must make a selection in the other dropdown and then click Attach
to attach the volume to the instance.
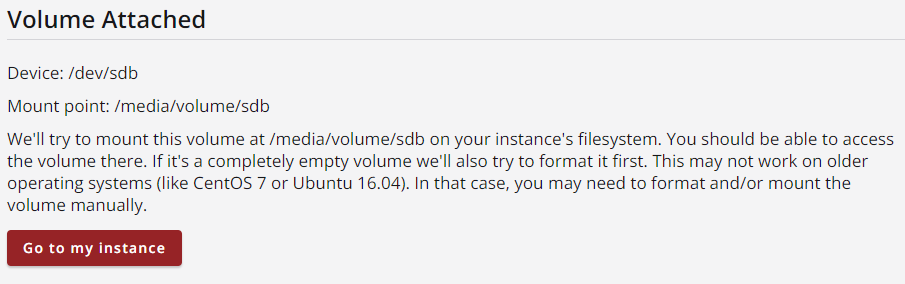
When the attaching is complete, you are shown a confirmation view with some information:
Using the Attached Volume in Your Instance
In the confirmation information above, take note of the path where the attached volume has been mounted for you.
In this example it is mounted at /media/volume/sdb.
When working on your instance, use this path to access the volume.
Following from the demonstration images above, we have attached a volume to an Ubuntu instance,
and when logged on to that instance we issue commands like the following:
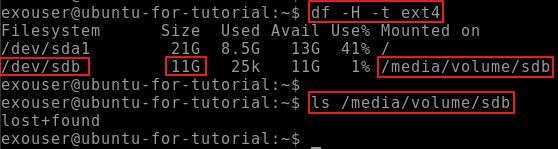
The command df -H -t ext4, shows a human readable
report
of all file system disks that are formatted as type ext4
,
which is the format used by default for Jetstream2 volumes.
This instance has two such volumes: /dev/sda1 is the root volume
and /dev/sdb is the attached volume.
The entry for the attached volume also lists its approximate size (shown here as 11G)
and the file system location where it is mounted, which matches what we were told in the confirmation information.
If we list the contents of /media/volume/sdb,
we see that it contains a lost+found folder and nothing else.
We can now work with our data in this folder for as long as the volume is attached to this instance.
Video Instructions: Create and Attach Volumes
CVW material development is supported by NSF OAC awards 1854828, 2321040, 2323116 (UT Austin) and 2005506 (Indiana University)