Creating an Image
Why Create an Image?
While you can create an instance from any of the standard Jetstream2 images,
it is also possible to create your own image by taking a snapshot
of an instance.
There are multiple reasons for doing so:
- Maybe you have customized an instance in very useful ways and want to run multiple copies of that instance at the same time. To do so, you would create an image from the instance and then create multiple instances from that new image.
- You might also want to share an instance you have created with others so that they can benefit from the customization you have done. Creating an image from that instance allows you to do so.
- Another reason to create an image is to archive the state of an instance that you are not using right now. This allows you to delete the source instance and free up the resources that it was using.
Best Practices for Creating an Image
The following practices are recommended when creating Jetstream2 images:
-
Upgrade the instance OS before creating an image.
For AlmaLinux and Rocky Linux instances, issue the command
sudo dnf update. For Ubuntu instances, issue the commandssudo apt-get updateandsudo apt-get upgrade. - Clean up any unnecessary files on the instance so that they are not included in the image.
- Create a test instance from your new image before deleting or shelving the source instance used to create the image.
Creating a Image
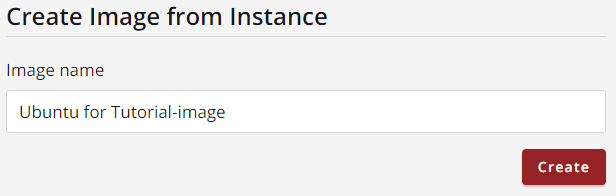
The Image action begins the process of creating a snapshot of the instance by asking you to supply a name for the new image:
When the image request has been entered you will be taken to the Exosphere dashboard.
Click on the Images summary to view a list of images in the region and allocation.
To find your new image, enter some search text or apply some filters to shorten the list of images.
Selecting Private
for the visibility and snapshot
for the image type will help
(all snapshot images are initially set to be private visibility):
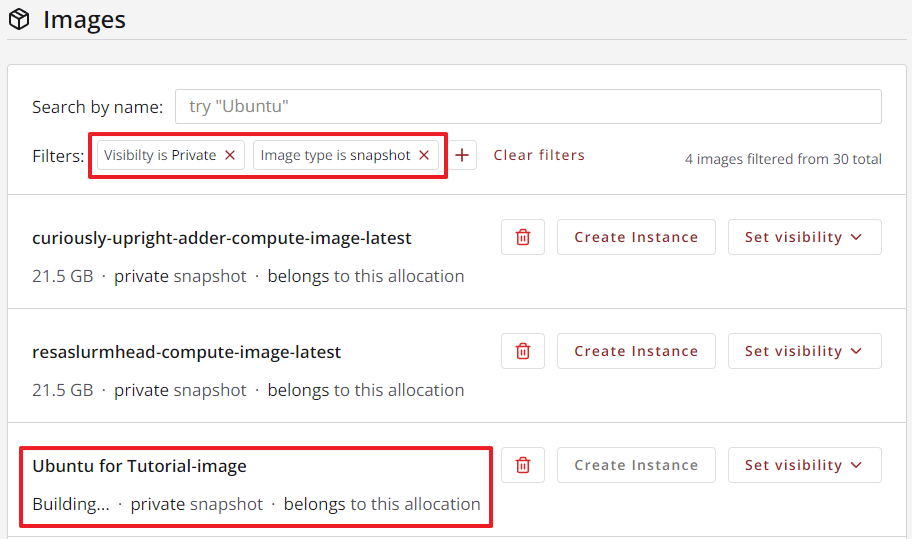
It takes several minutes for the image to be built, so it will initially be noted as Building
,
rather than showing the image size, as other instances do.
You may need to refresh the images dashboard view to see when the image status has been updated.
Once it is complete, its Create Instance
button will be enabled, allowing you to create instances from it.
The other controls in the image's list entry allow you to
set its visibility to Community
and to delete it (the trash can icon).
Video Instructions: Create Image
CVW material development is supported by NSF OAC awards 1854828, 2321040, 2323116 (UT Austin) and 2005506 (Indiana University)